Paper Snowflake Art

Create some eye catching art with paper snowflakes. A bright and cheerful wintery activity.
Paper snowflakes are such a classic winter craft activity.
I remember making them as a child, and now my kids and I make them together pretty much every year.
Today we take our favourite snowflake efforts and make them into a nice piece of art. Bright, cheery, and perfect for brightening up the wall with some colour.
Ready? Let’s take a closer look.
Paper snowflake art? Tell me more!
Generally speaking, after we have enjoyed making paper snowflakes, we end up doing one of two things with them.
We either:
a) put them in a big pile, not quite sure what to do with them, before eventually recycling them… or
b) tape them to the window to add a bit of wintery decoration, before eventually peeling them off and recycling them.
I find that, when it comes to paper snowflakes, the fun really is in making them. And because of this, they never really get displayed with much effort.
Until now!
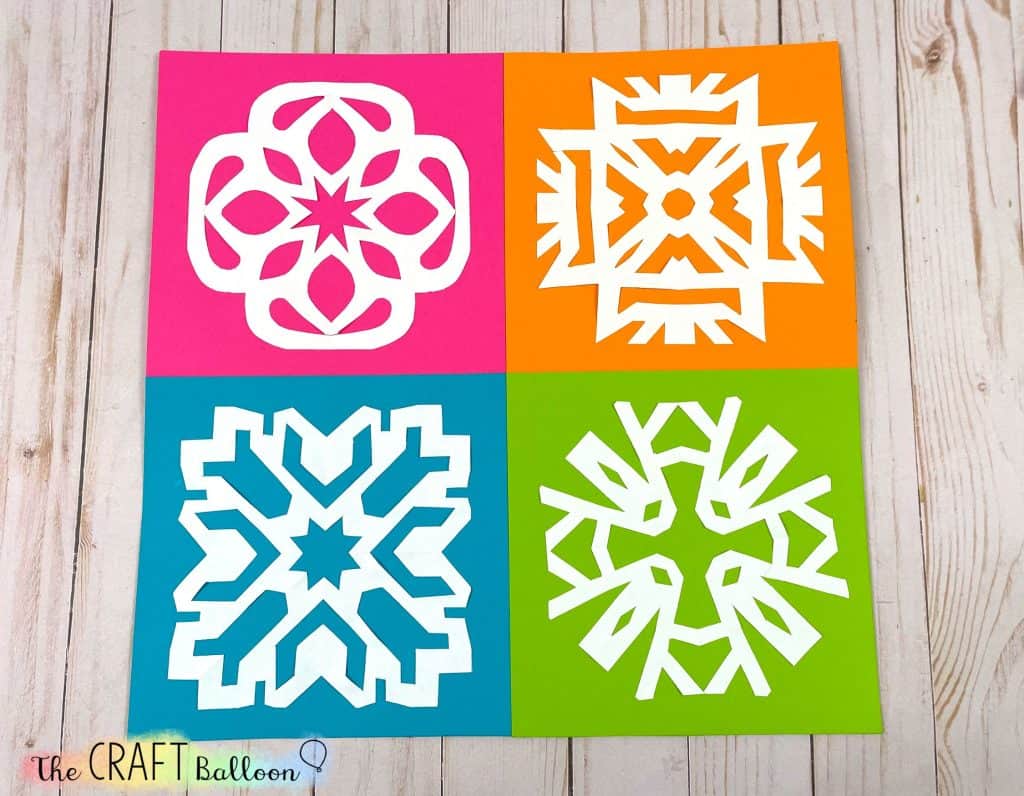
Inspired by the bright colours of pop art – for example the striking 1960s silk screen paintings of Marilyn Monroe by Andy Warhol – we gave our four best snowflakes a coloured background each to really make the intricate snowflake patterns pop. (If your kids want to know more about pop art and what it’s all about, I like this video from Tate Kids).
In keeping with our pop art inspiration, we chose to back our paper snowflakes with super bright colours (can’t resist some bright bold colours, especially in the bleakness of mid-winter.
You could also go for some softer blue/turquoise/purple colours if you want ‘wintery’ backig colours or indeed, more of an Elsa-from-Frozen vibe.
If you think your children might enjoy creating their own snowflake art, here’s how we made it.
What you will need
This activity only uses minimal supplies:
- white paper squares
- scissors
- four pieces of coloured cardstock (or paper)
- glue
How to make your paper snowflake art
Step 1
With white paper, measure and cut four squares 6 inch by 6 inches. (You may even want to cut a few more than four so you have som practice ones. We made a bunch of snowflakes and then picked our favourite four to display).

Step 2
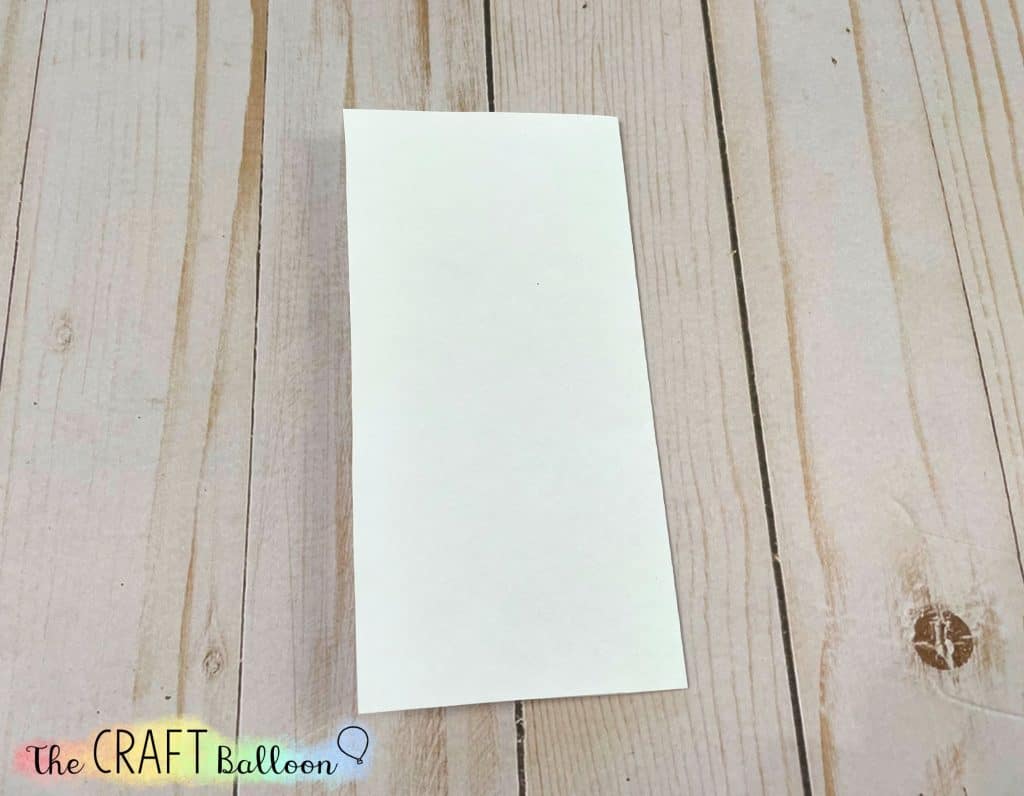
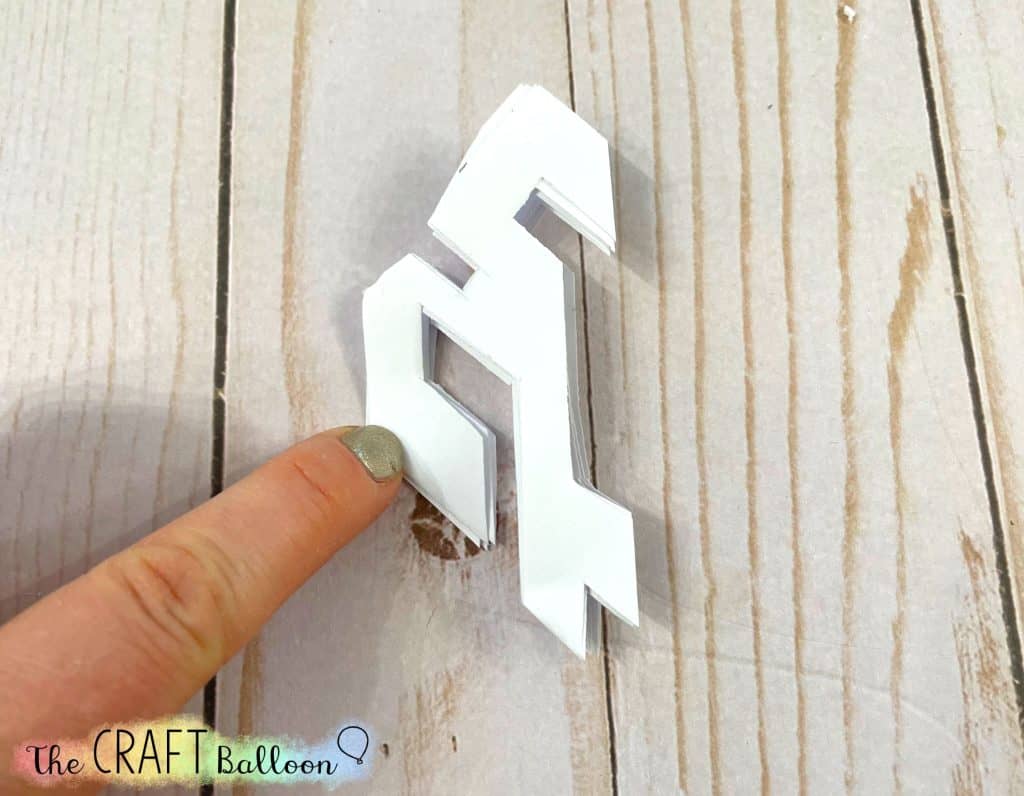
Before cutting, you’ll want to start by folding each square in half three times.
Fold once in half:
Then again:

And then once more, but this time diagonally to make a triangle:

Step 3
Next, you’ll want to cut your patterns to create your snowflakes.
A couple of tips for snowflakes:
- Remind your child not to cut along either of the two folded sides completely. If you do, your snowflake will fall apart into pieces when you open it out as there’ll be nothing holding the segments together. Instead encourage them to cut small ‘bites’ out of the edges.
- Choose whether to you want more of a square or circular-shaped snowflake. For a more square-shaped paper snowflake, simply cut your patterns from the whole of the folded triangle. For a more circular-shaped snowflake, round the edge off before you make your cuts, like so:

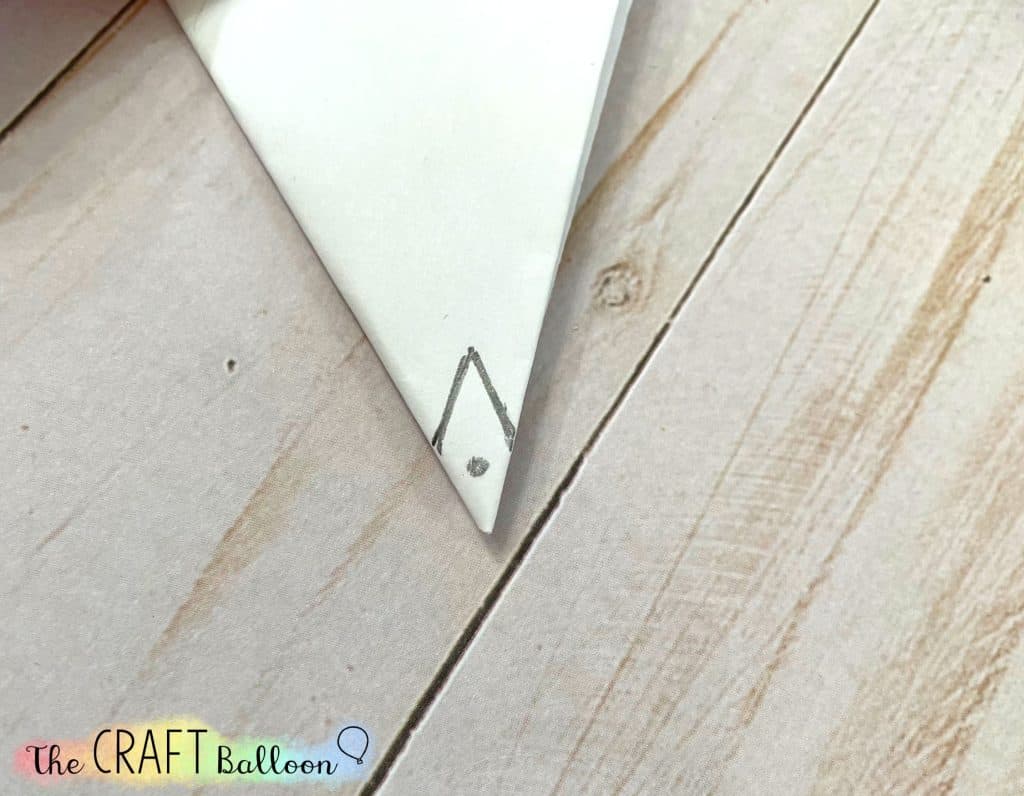
- To make a hole in the centre of your snowflake, snip the end point off the triangle. To make a star shape in the centre of your snowflake, cut an upside down V-shape out of the tightly-folded point of the triangle.

Step 4
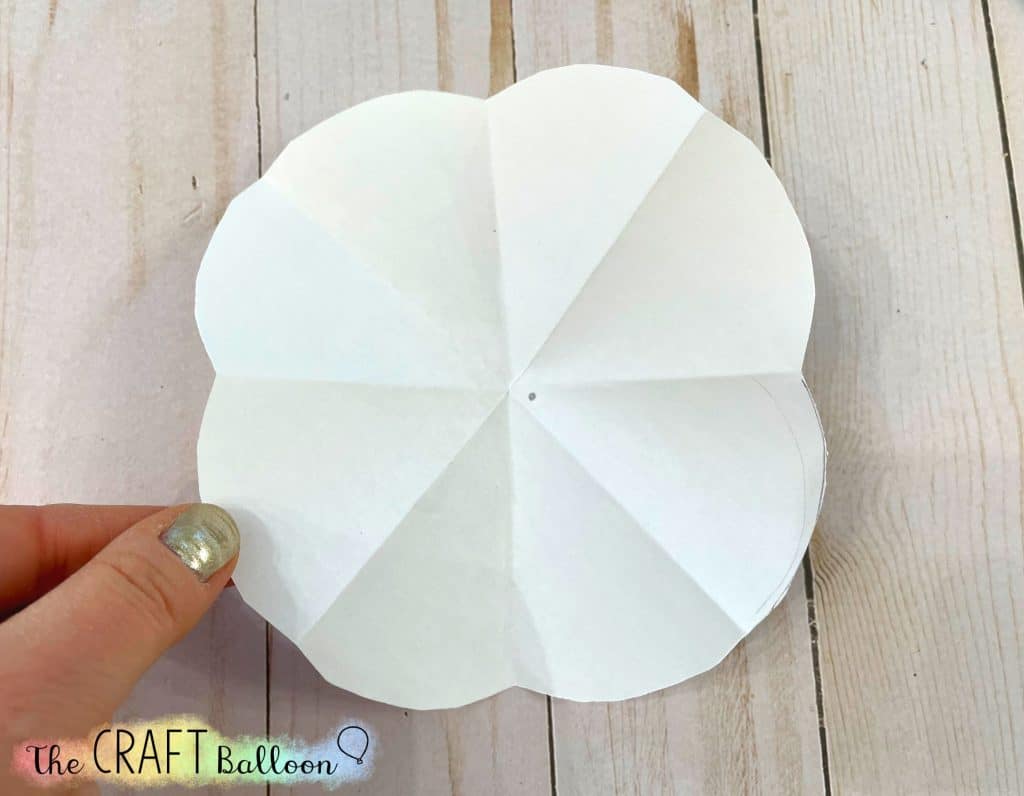
Once you’ve cut the pattern into your folded paper, you get to do the really fun reveal.
Open our the folded paper to see what you’ve created!

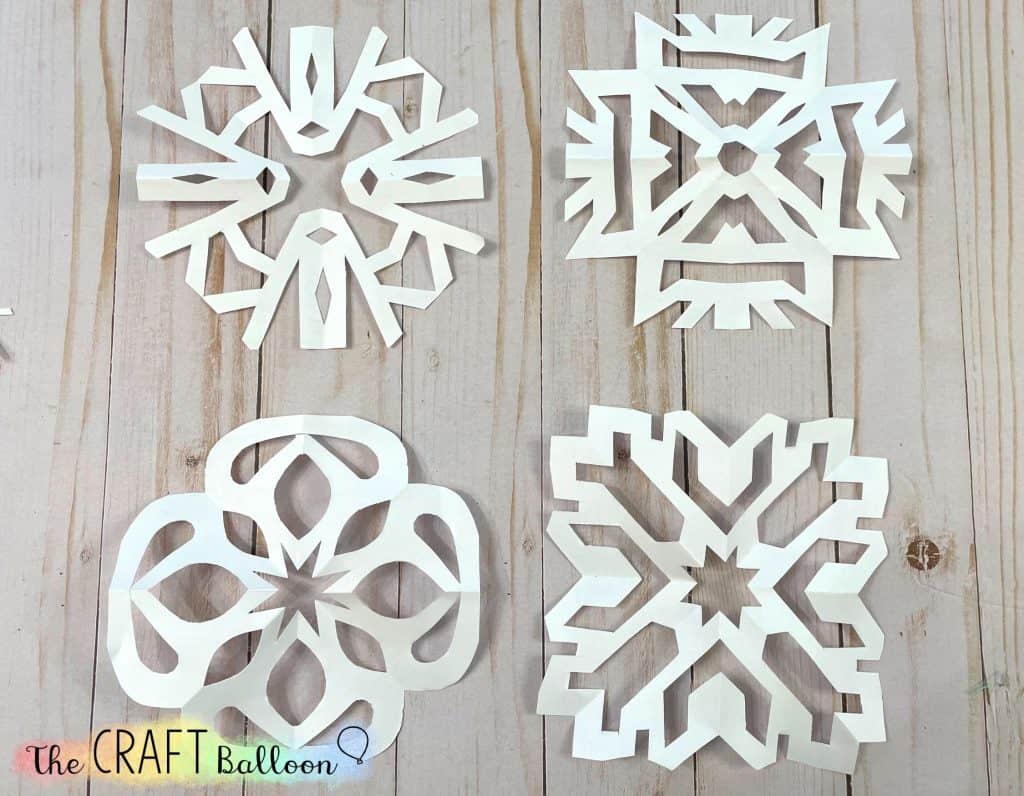
Step 5
Next, choose your four favourite snowflakes. These are the ones you’ll use for display. We chose two square-shaped snowflakes and two that were a bit rounder.
Step 6
Choose your four coloured pieces of cardstock or paper for the chequerboard background. Cardstock works best if you have it.

We cut out squares sized approximately 8 inches by 8 inches.
There are a couple of options to fixing together the four coloured pieces. Firstly you can glue the four squares in position onto another much larger piece of paper. Alternatively you can overlap the squares slightly and tape them together on the back (this is what we did).

Step 7
Glue each of your four snowflakes onto the coloured squares.
You can use a glue stick or white glue. If you’re using a glue stick, be careful that the snowflakes don’t tear whilst you’re trying to glue them.
And that’s it! A bright and fun piece of wintery art, and a cool way for your children to show off their best paper snowflakes.
Want to save this snowflake art activity for later? Then why not pin it?