Striped Heart Valentine’s Day Card

This heart-themed Valentine’s Day card is eye catching and simple to make. Use leftover paper or gift wrap to make a colourful striped design.
Today’s craft is a Valentine’s Day card that your child can make at home using our printable template and strips of leftover paper, card or gift wrap.
Despite it being really quite quick to make, and only needing a few supplies, it looks really pretty on display.
There are two designs to choose from and your child can enjoy making their own coloured stripes using whatever paper you can lay your hands on (great for using up those random bit of paper in your craft drawer/closet/box!).
Want to see how we made ours? Step by step instructions to follow.
But first, supplies!
What you will need
- printable template
- 1 x white cardstock
- paper strips – use whatever you have such as gift wrap, coloured paper, cardstock or even pages from a magazine
- glue
- 1 x sheet of coloured cardstock (slightly larger than the template with cut-out hearts)
- scissors
How to make a stripy heart Valentine’s Day card
Step 1
First step is to print off the cut-out template. You can find the template at the end of this post!
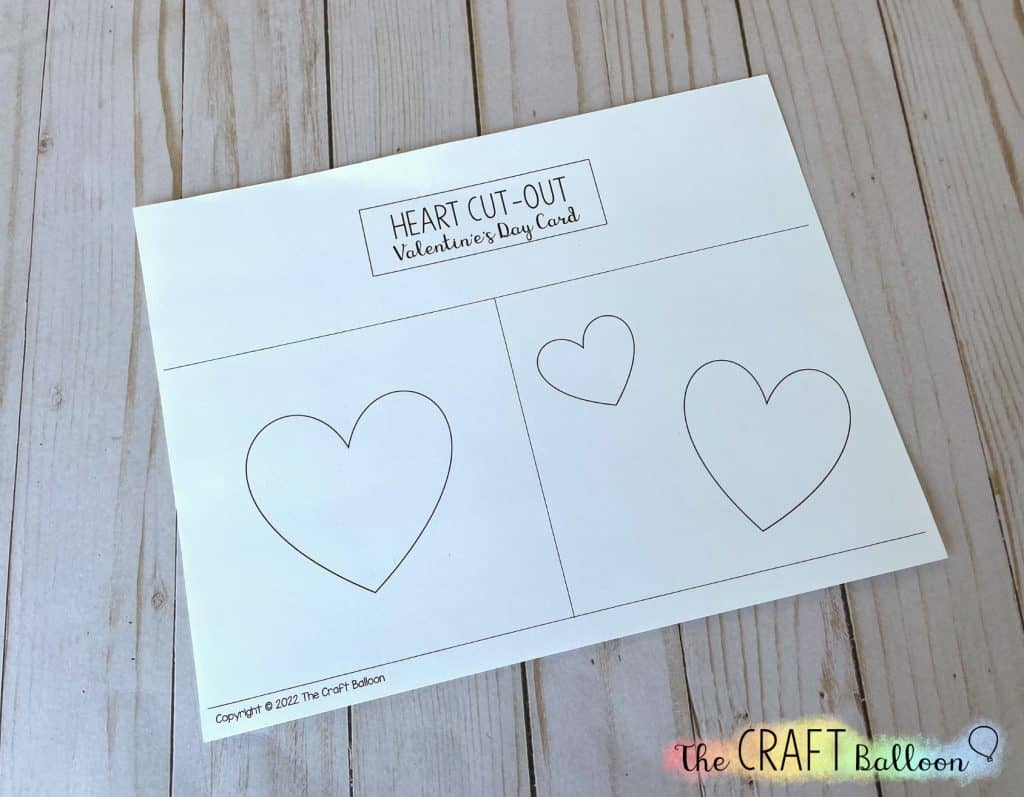
There are two versions included in the download – either a single heart, or two smaller hearts.
The single heart, which is a bit larger than the two hearts, will be easier for younger children to cut out.
Ideally, print your chosen template onto white cardstock rather than paper.
Step 2
Cut out the inside of the hearts shape(s) on the template. Use a pencil to make a hole so that it’s easier to get the scissors in to get the cutting started.
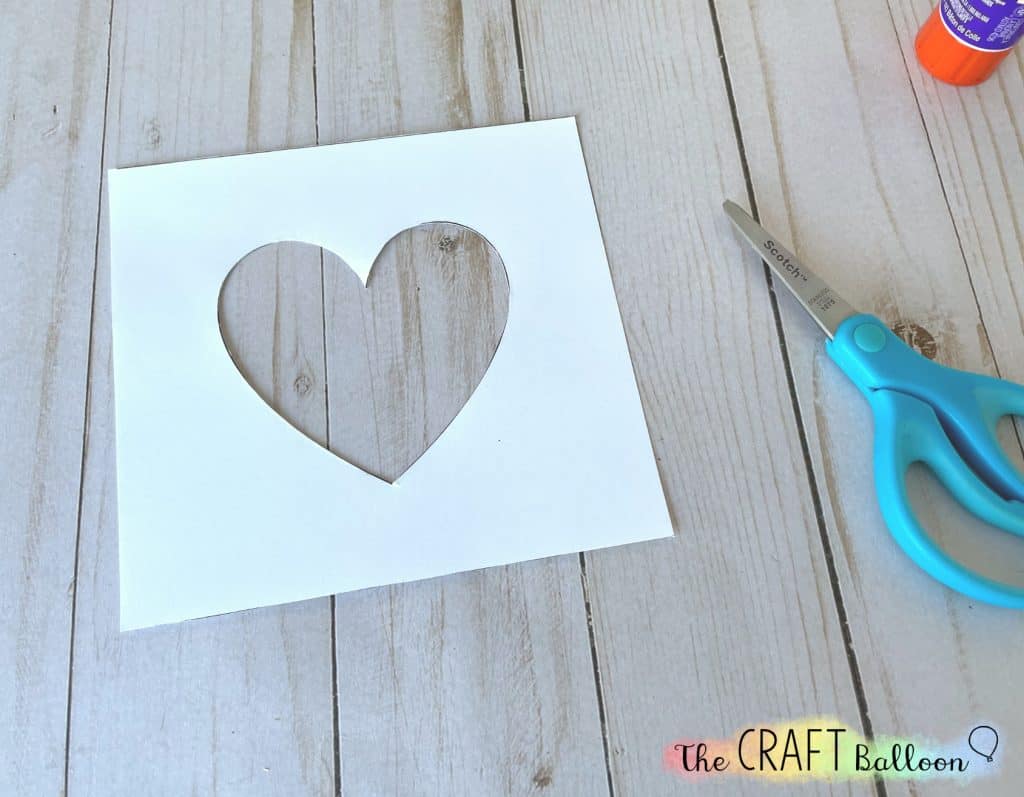
The cutting out of the hearts can be a bit fiddly. Younger children will need some help with this step.
Related post: Valentine Love Bugs (with template!)
Step 3
Next you’ll need to create some coloured paper strips (about 1cm width).
You can use cardstock, coloured paper, gift wrap/wrapping paper or whatever type of paper you can find around the house. Even pages from magazines would work well too.
Turn over your paper and put plenty of glue around the heart cut-out(s).
Begin to lay the strips of paper over the heart, overlapping the strips just a little.
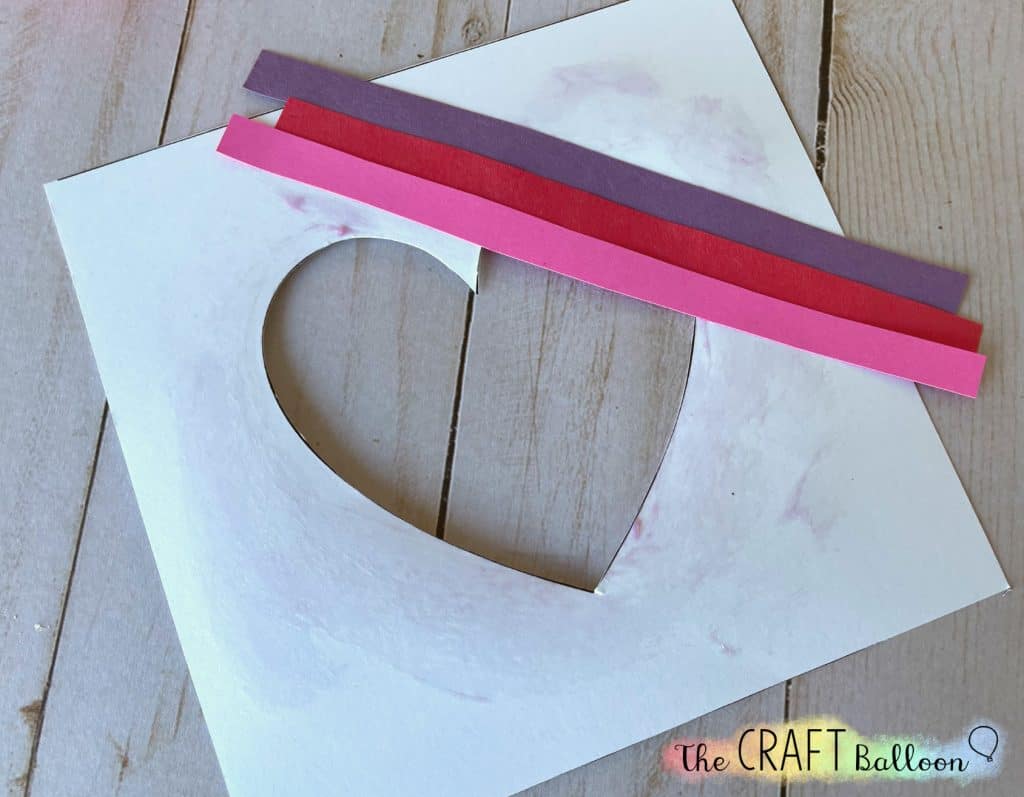
We used pinks and reds for our paper strips, but really you could use a mixture of colours if you wanted and it would still look great.
When gluing the paper strips down, alternate colours so that you have a cool stripy colour pattern.
Step 4
Once your heart(s) are completely covered with no gaps, you’ll want to trim any strips that are poking out over the edges of the white square.

When you turn over your heart picture it should now look like this:
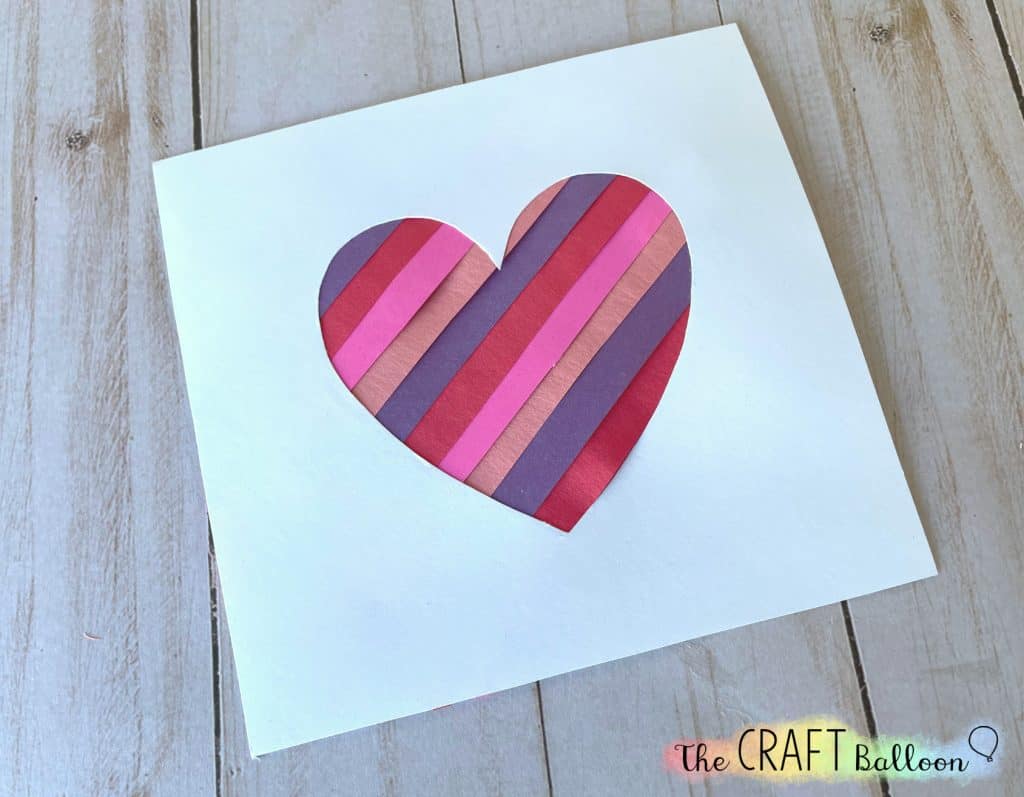
Step 5
The last step is to cut a piece of coloured paper or cardstock to make a background for your heart picture.
The square of coloured card/paper should be a little bigger than the white paper as this makes a nice border.

Put plenty of glue on the coloured paper/card before sticking the heart picture down.
Step 6
And with that your card is finished and your child can write their message on the back.

Whichever template you use, these cards make a striking but simple valentine card or picture. I hope you like them!

Want to make this card at home with your children?
You can find the template here:
Want to save this craft for later? Why not pin it?!


